UPCOMING: Events

Results 1 to 7 of 7

Thread: Foaming your Reef tank by Mr Cob

  1. #1
    Join Date
    08-28-2007
    Location
    Stone Oak PKWY, SA/TX
    Posts
    13,593

    Default Foaming your Reef tank by Mr Cob

    The tank.... (complete build thread HERE)

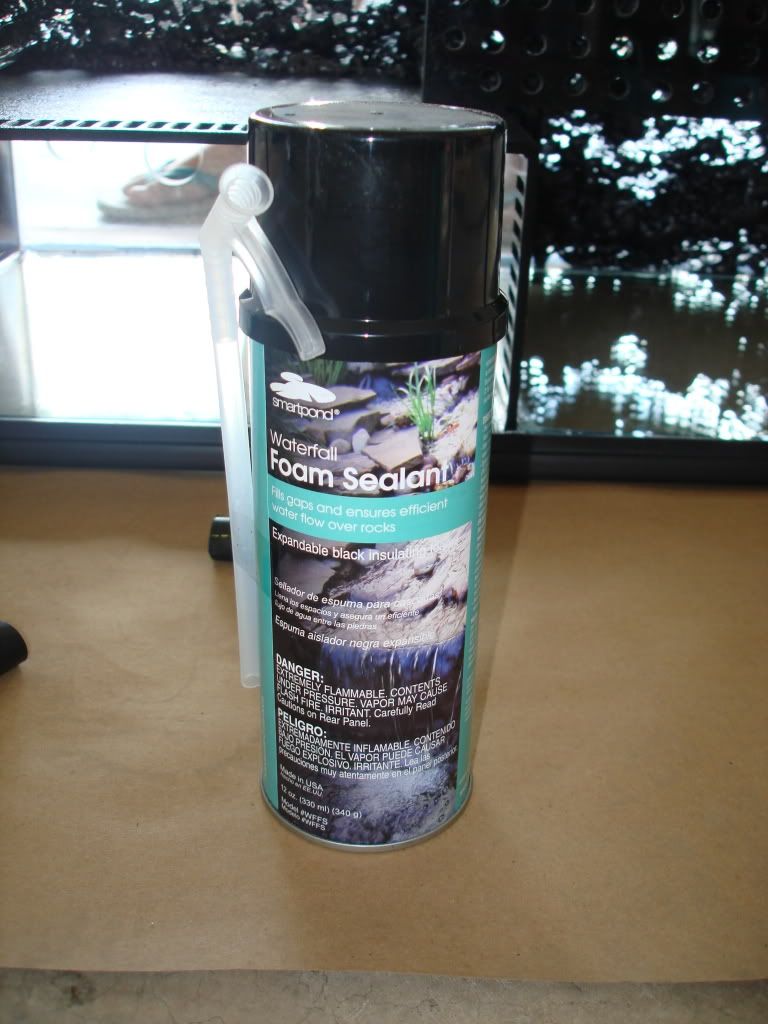
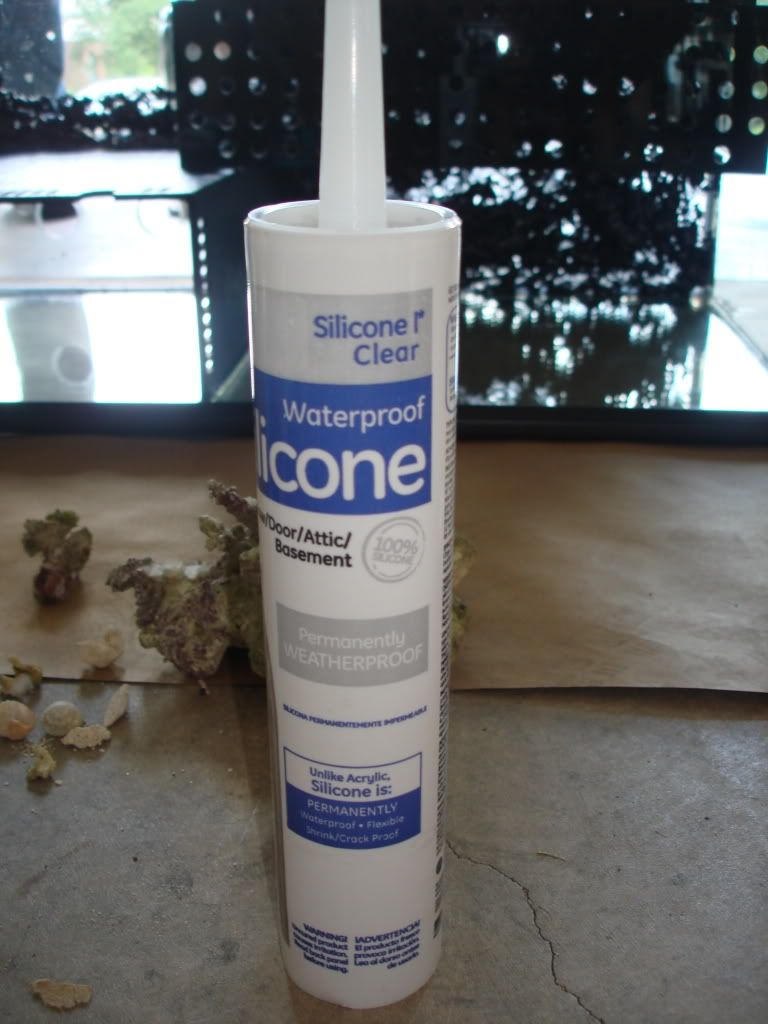
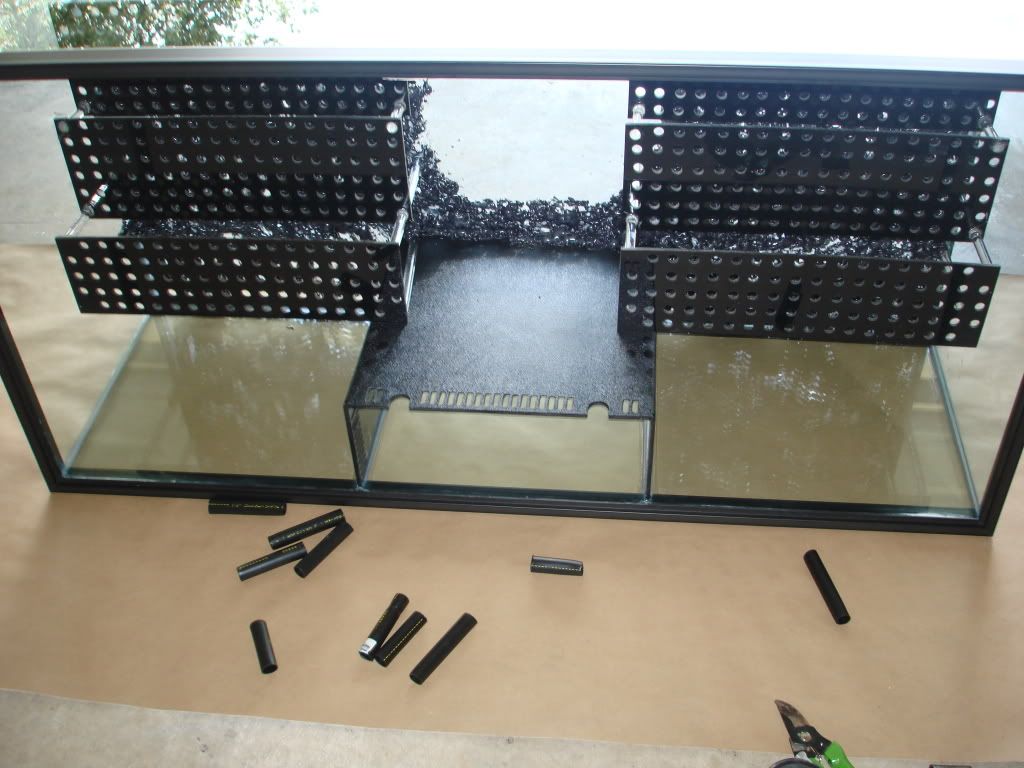
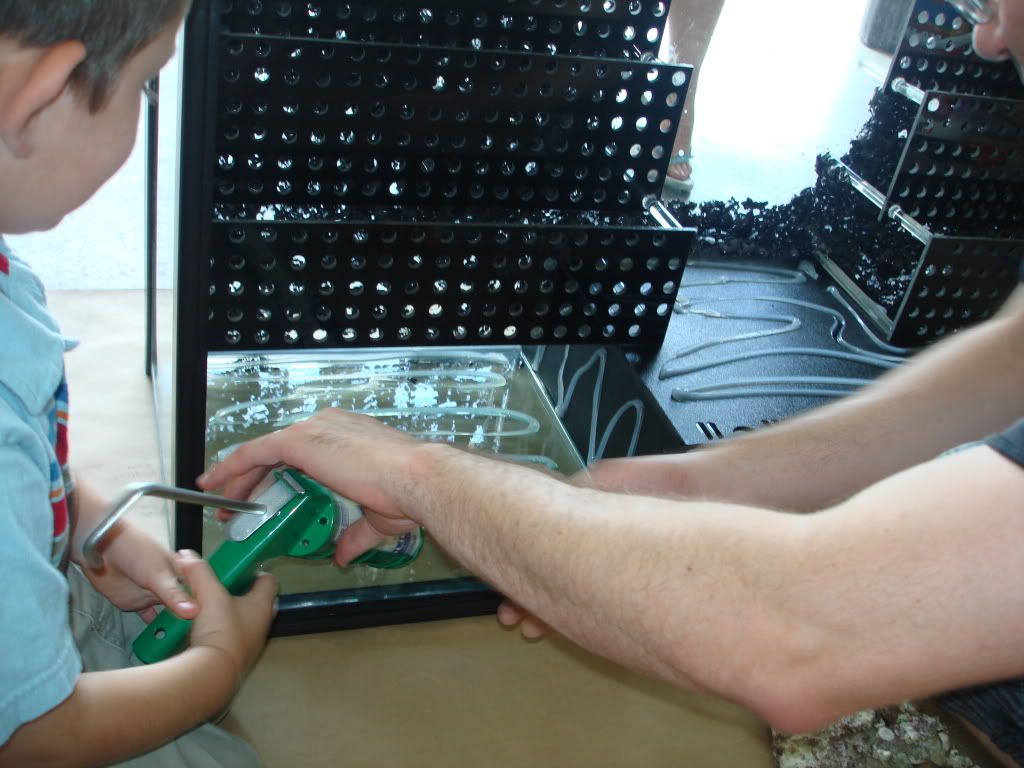
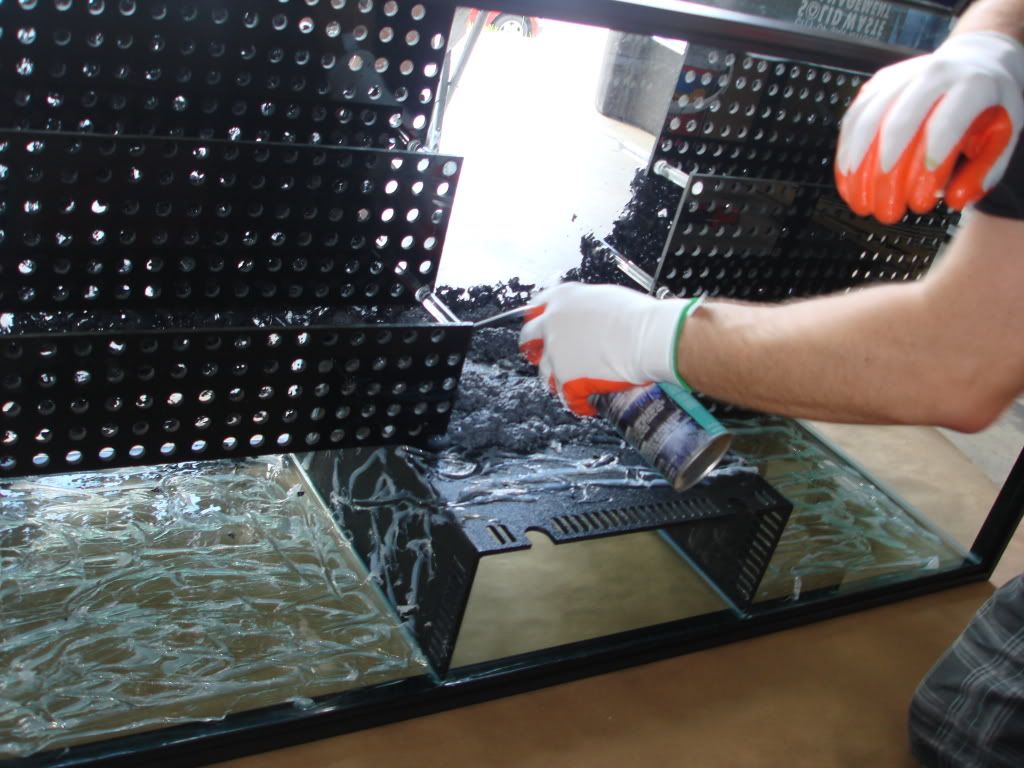
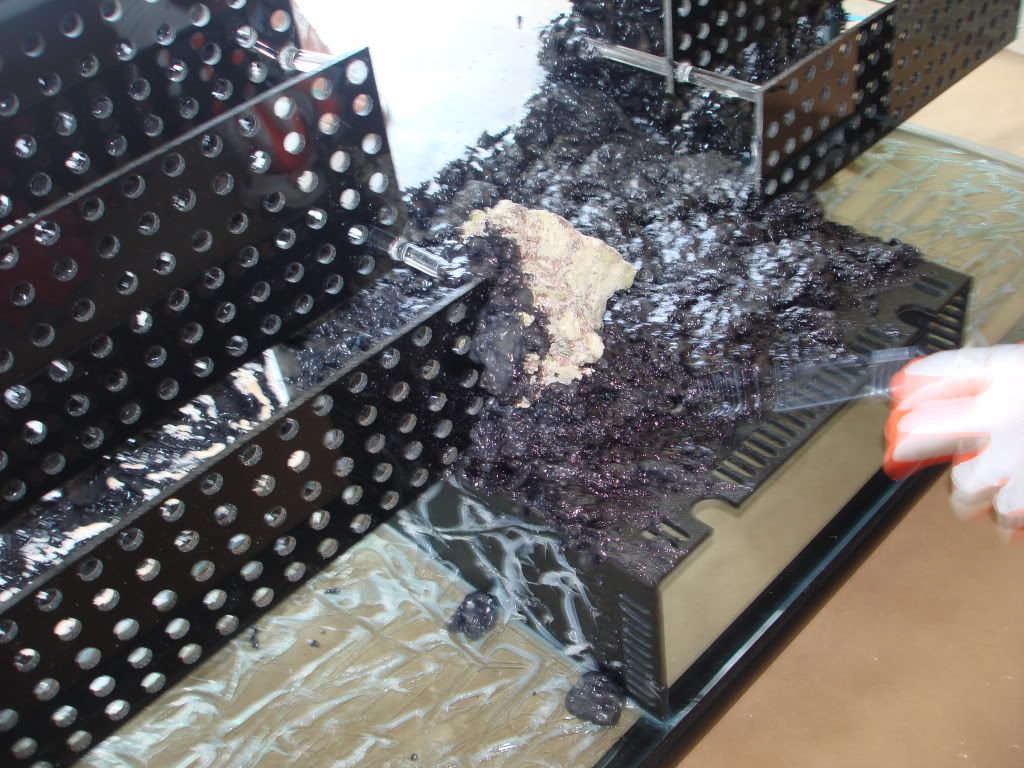
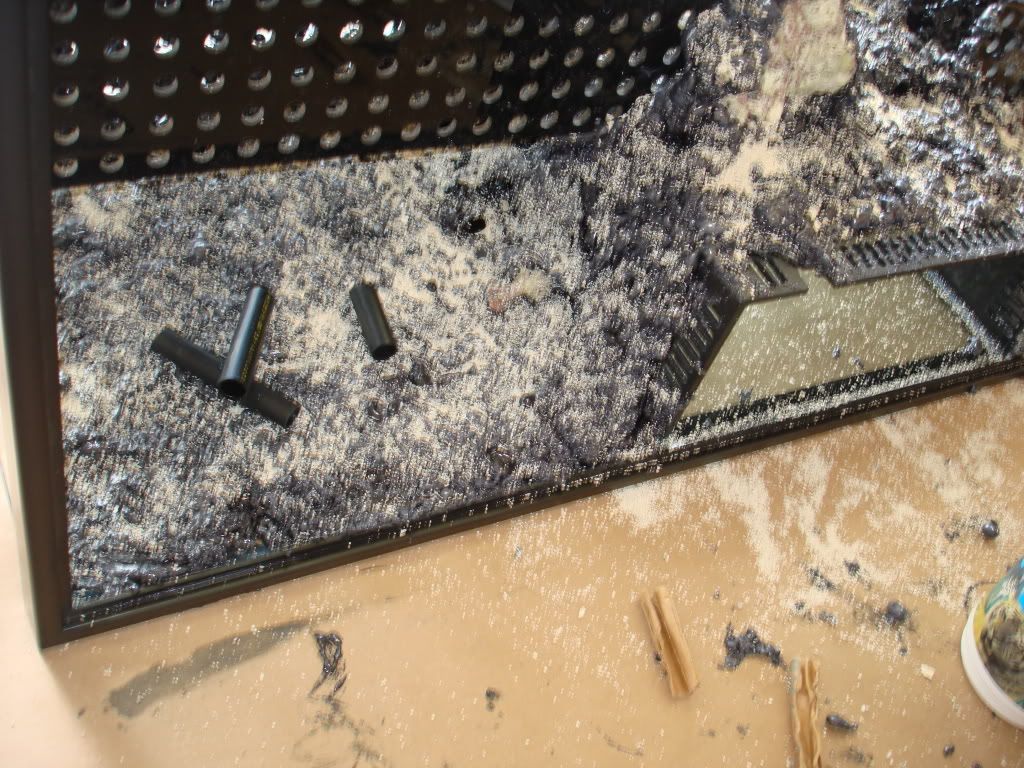
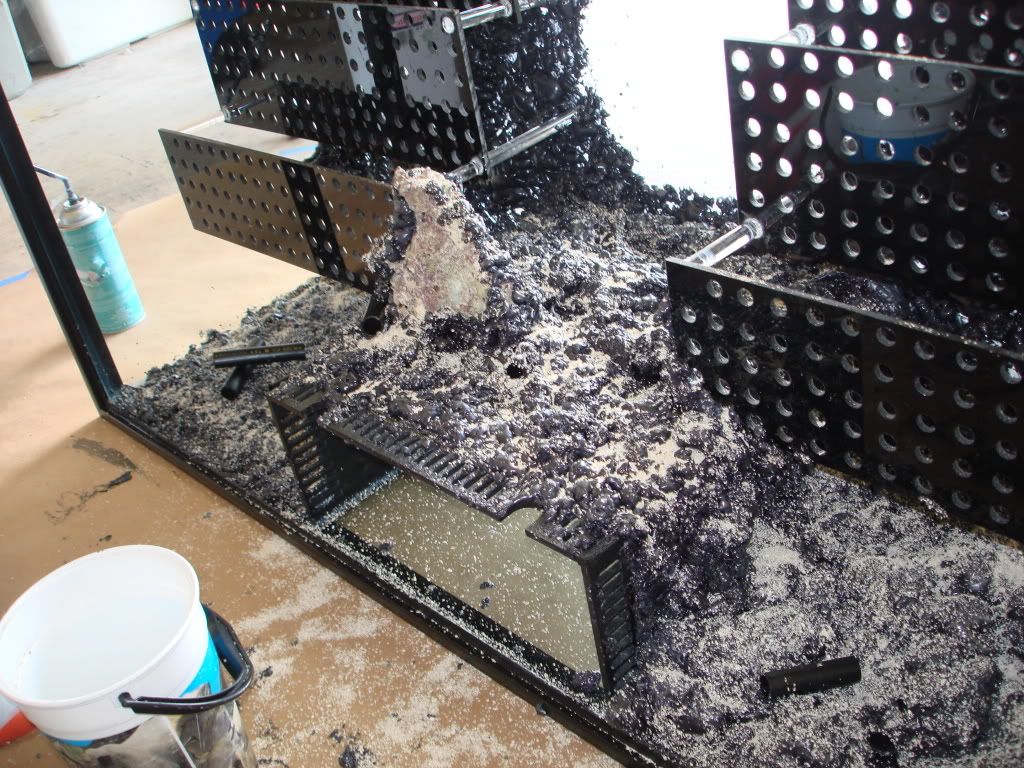
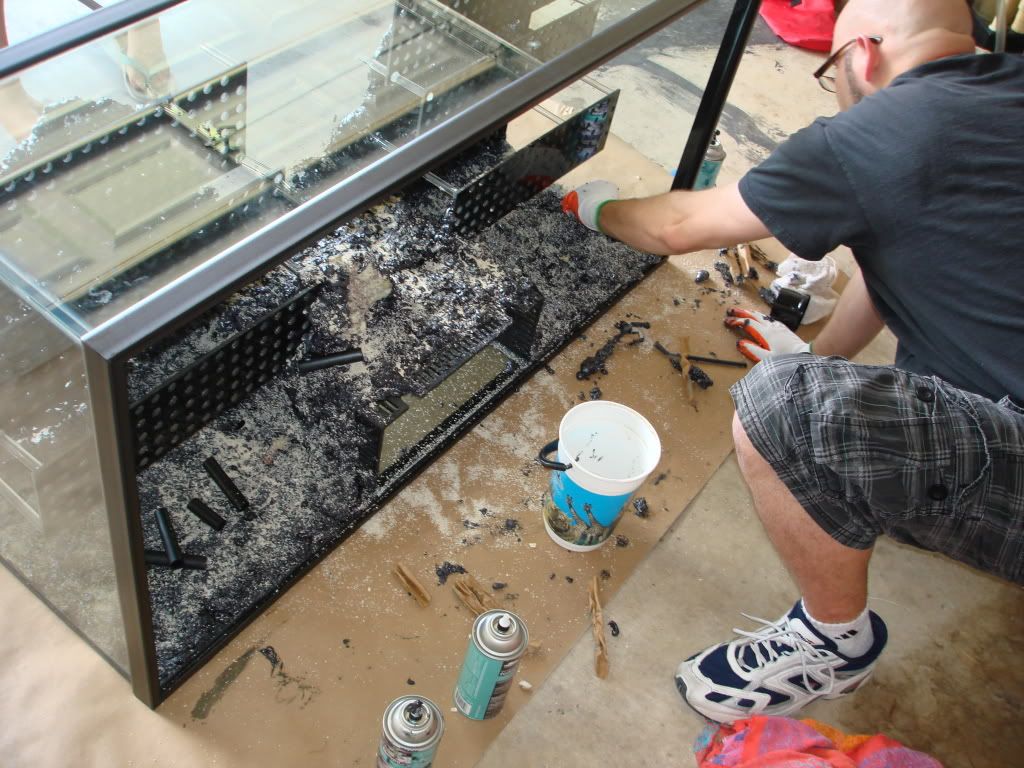
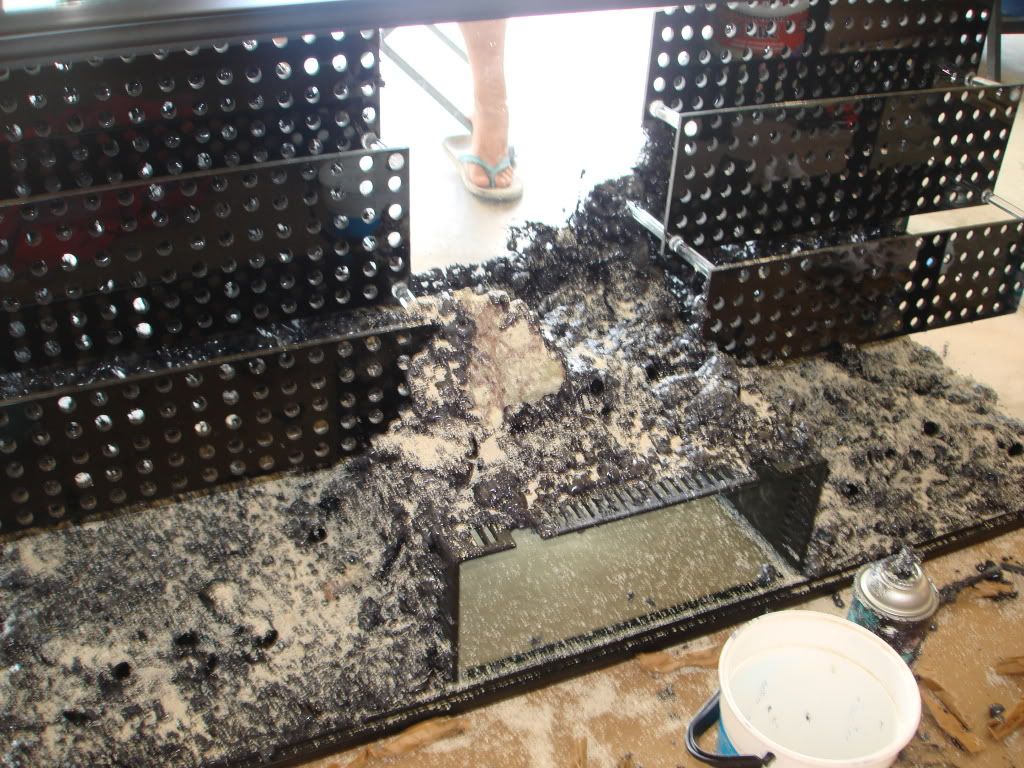
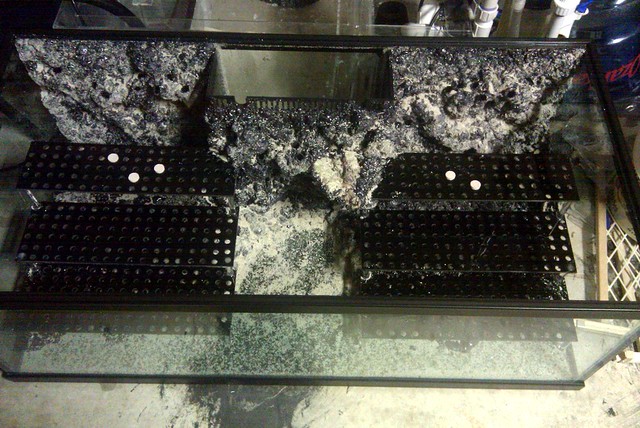
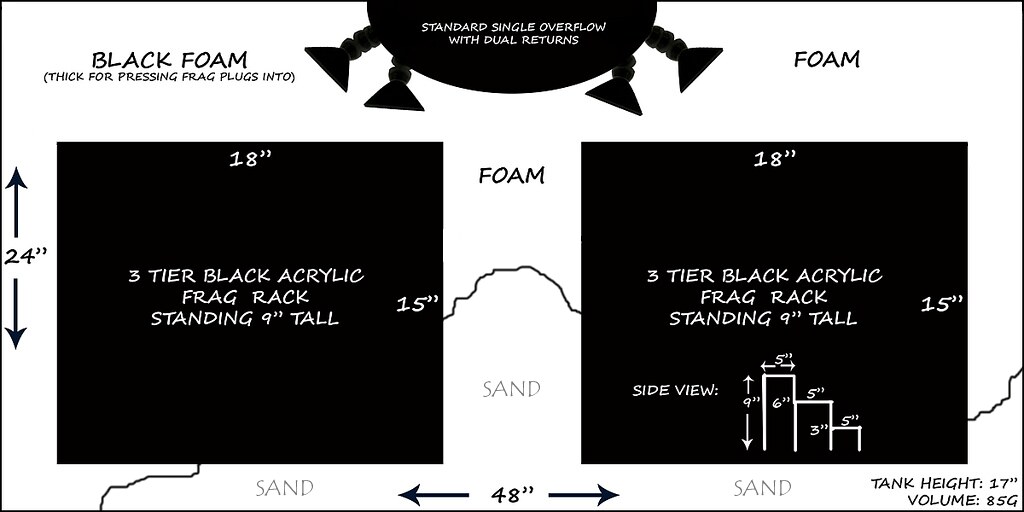
    DSA 85g RR 48" x 24" x 17" frag tank with a peninsula overflow: Plan is to foam the back glass and overflow along with parts of the sides and bottom. The goal is to turn a frag tank into a "frag display" tank.


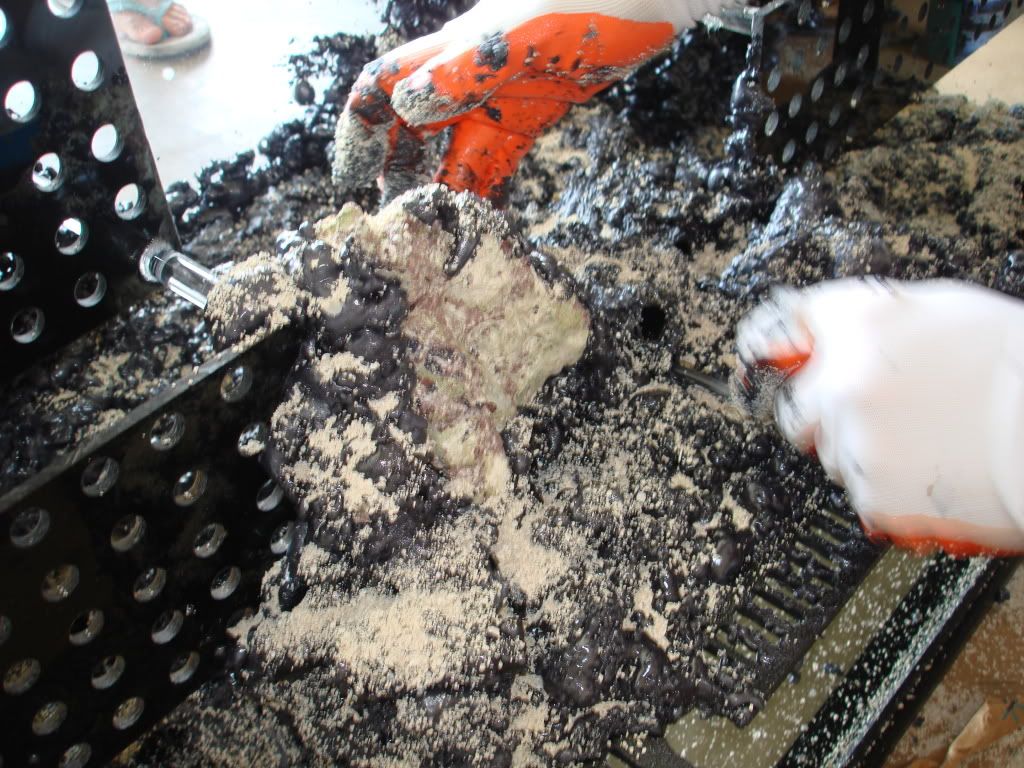
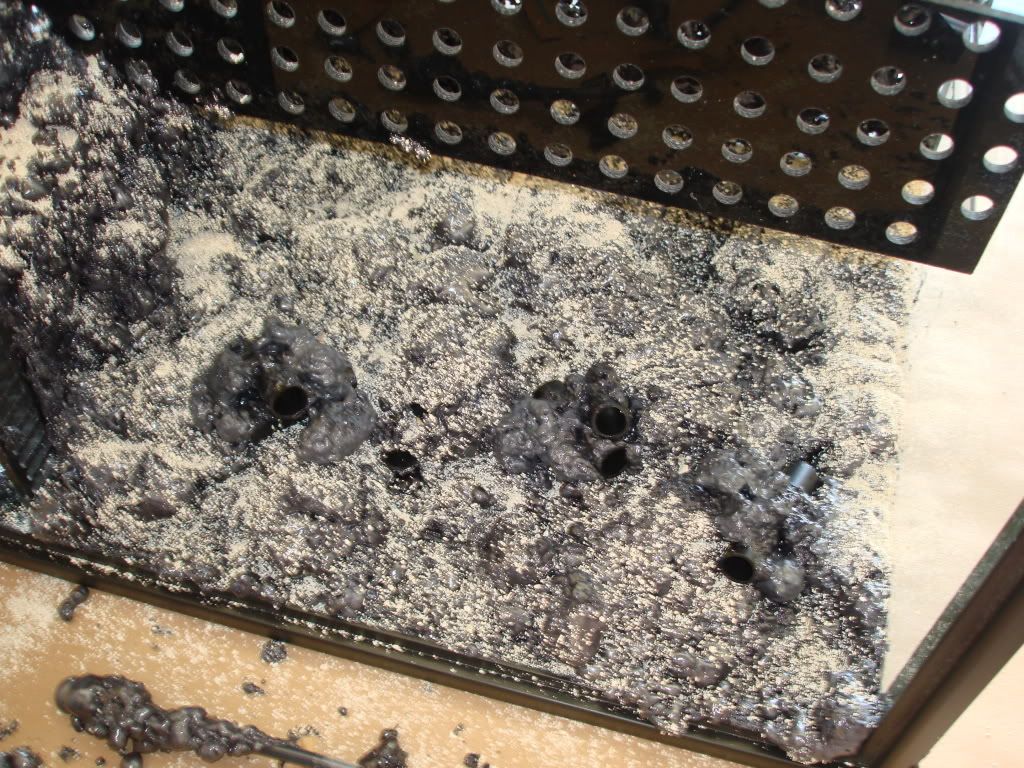
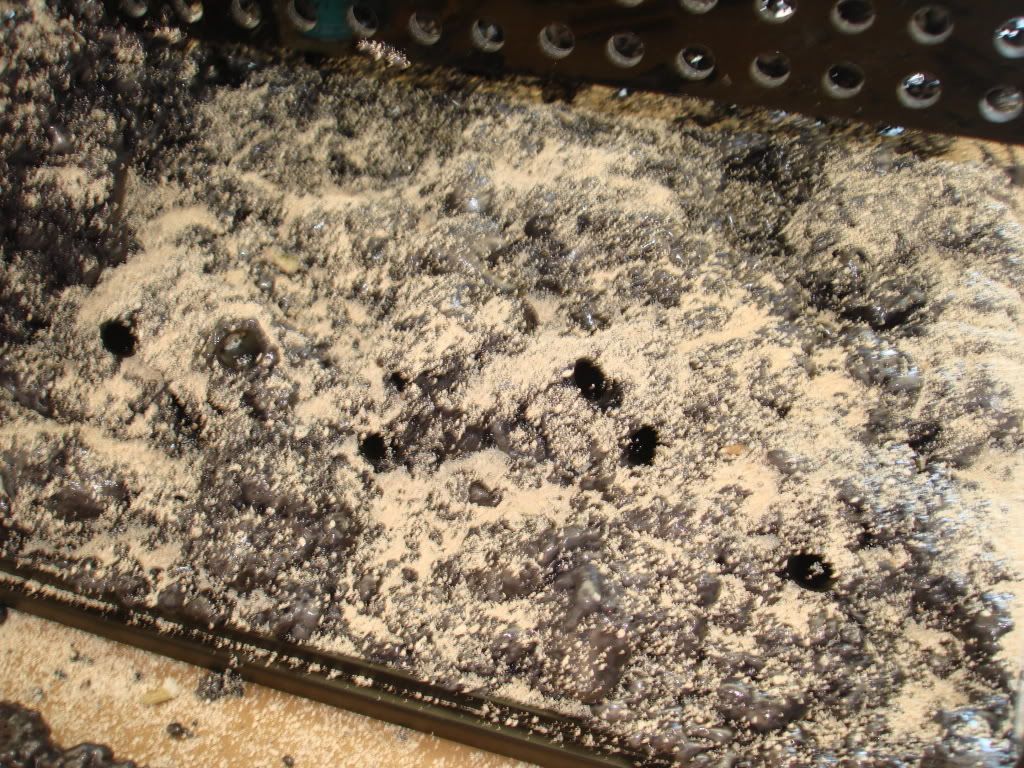
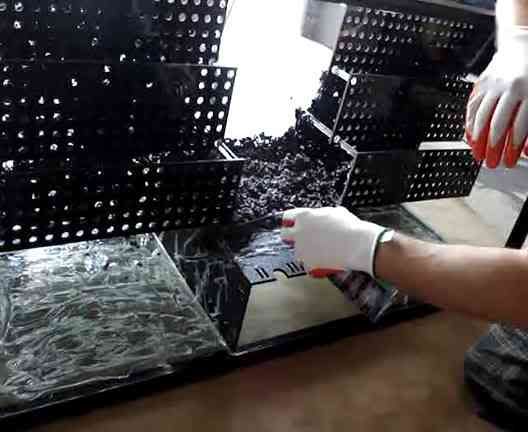
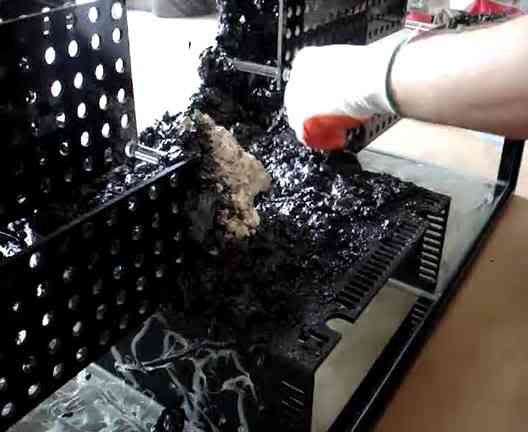
    Frag racks in place and ready for some foam to be applied to the bottom to keep them in place when the tank is put on it's back for foaming:
    Last edited by Mr Cob; Tue, 10th Aug 2010 at 11:02 AM.

  2. #2
    Join Date
    08-28-2007
    Location
    Stone Oak PKWY, SA/TX
    Posts
    13,593

    Default

    Materials: (pics compliments of Jesse)

    Foam...be sure to wear gloves... (Lowes and Home Depot sell this)


    Silicone... (Lowes and Home Depot)


    A few pieces of rock and rubble to add into the foam...


    Some sand/crushed coral to add onto the foam after applying.... (this really helps the coraline algae to take off because coraline requires a porous surface to attatch to, aragonite works best IMO)


    PVC tubes... the cardboard inside each was a bad call and was difficult to remove as the foam was setting. So I removed the cardboard and decided to add the tubes after the foam started to dry. (I add these as an easy way for mounting corals)
    Last edited by Mr Cob; Tue, 10th Aug 2010 at 10:55 AM.

  3. #3
    Join Date
    08-28-2007
    Location
    Stone Oak PKWY, SA/TX
    Posts
    13,593

    Default

    Tank on its back and ready for jam session...


    Apply silicone first (used to keep foam attached to glass and overflow longterm)
    my son Zion helping....


    Spread silicone around...


    Start foaming...


    Add a rock and foam around it...this one will act as a little ledge..be sure to distress the foam by moving it around with a stick and popping all the perfect little bubbles...distressing the foam as it rises three or four different times over the course of an hour will give you the most realistic look...


    Example of foam NOT distressed...


    Add sand and move foam around again with hands or a stick...make sure you have gloves on... you are trying to create a porous effect.

  4. #4
    Join Date
    08-28-2007
    Location
    Stone Oak PKWY, SA/TX
    Posts
    13,593

    Default

    Add some tubes and foam over them...be sure to keep distressing the foam and keep poking a stick through the tubes to keep the foam from covering them up...


    Add sand over the tubes once you foam them again...


  5. #5
    Join Date
    08-28-2007
    Location
    Stone Oak PKWY, SA/TX
    Posts
    13,593

    Default

    A couple of vids... (compliments of Jesse)

    Foaming:


    Distressing: (the cardboard in the tubes did not work...the tubes should be added without the cardboard inside them as the foam is hardening and then foam over them lightly)


  6. #6
    Join Date
    08-28-2007
    Location
    Stone Oak PKWY, SA/TX
    Posts
    13,593

    Default

    Here's the finished background upright.

    I still need to foam the sides and some more on the bottom,


    Closeup of the ledge...


    Closeup of tubes (they all have an open hole on both the top and bottom to prevent detritis build-up)


    Tried getting a decent shot straight on...kind of difficult with my phone.


  7. #7
    Join Date
    08-28-2007
    Location
    Stone Oak PKWY, SA/TX
    Posts
    13,593

    Default

    Additional tips and info....

    Quote Originally Posted by ismvel View Post
    Something to note that he mentioned yesterday and I don't see in here:

    This stuff starts to harden fairly quickly, so if you are doing a decent size tank, work in sections, and make sure you keep an eye on it as you continue, this stuff continued to rise for over an hour after initial application.
    Quote Originally Posted by Mr Cob View Post
    I let it cure for 5-7 days before I let water touch it....but I have seen people only wait 48hours. It's inert so it does not soak in water or release any toxins. It does nothing for or against a cycle. I do rinse it, but not purposely...when I do a water test it gets rinsed. No need though because it's inert.
    Quote Originally Posted by Mr Cob View Post
    Foam is not permanent. It can be removed in the same fashion as removing silicone seems on a tank. Of course it may be difficult and tedious, but it is not permanent. I prefer to foam directly to a tank versus creating mobile structures with eggcrate. I prefer this method because it removes any chance of dead spots and detritus build-up that you might see from a structure not fitting flush against your tank.
    Last edited by Mr Cob; Tue, 10th Aug 2010 at 11:10 AM.

Tags for this Thread

Posting Permissions

  • You may not post new threads
  • You may not post replies
  • You may not post attachments
  • You may not edit your posts
  •